

Step by Step Guide on Troubleshooting your Geyser
As an open-box electronics brand, Liqo knows that geysers can be a common source of issues in homes. If your geyser is not functioning properly, it can be frustrating and disruptive.
In this blog, we’ll provide a step-by-step guide on troubleshooting your geyser to help you identify and resolve犀利士
the issue.
1. Check the Power Supply
The first step in troubleshooting your geyser is to check the power supply. Make sure the geyser is plugged in and that the circuit breaker or fuse has not been tripped.
If the power supply appears to be fine, move on to the next step.
2. Check the Thermostat
The thermostat is responsible for regulating the temperature of the water in the geyser. If the thermostat is not working properly, it can cause the geyser to malfunction.
To check the thermostat, locate it (it is usually located near the bottom of the geyser) and set it to a higher temperature. If the geyser does not start heating the water, the thermostat may be faulty and need to be replaced.
3. Check the Heating Element
The heating element is responsible for heating the water in the geyser. If the heating element is not functioning properly, it can cause the geyser to malfunction.
To check the heating element, locate it (it is usually located near the bottom of the geyser) and visually inspect it for any signs of damage or corrosion. If the element appears to be damaged or corroded, it may need to be replaced.
If you’re looking for a geyser but do haven’t much budget. Consider buying a refurbished geyser from the Liqo store.
4. Check the Pressure Relief Valve
The pressure relief valve is responsible for releasing excess pressure in the geyser. If the pressure relief valve is not functioning properly, it can cause the geyser to malfunction.
To check the pressure relief valve, locate it (it is usually located near the top of the geyser) and gently push down on the handle. If the handle does not move or the valve does not release any pressure, it may be faulty and need to be replaced.
5. Check the Anode Rod
The anode rod is responsible for protecting the geyser from corrosion. If the anode rod is not functioning properly, it can cause the geyser to malfunction.
To check the anode rod, locate it (it is usually located near the top of the geyser) and visually inspect it for any signs of damage or corrosion. If the rod appears to be damaged or corroded, it may need to be replaced.
Related post: Tips on How to Maintain a Refrigerator
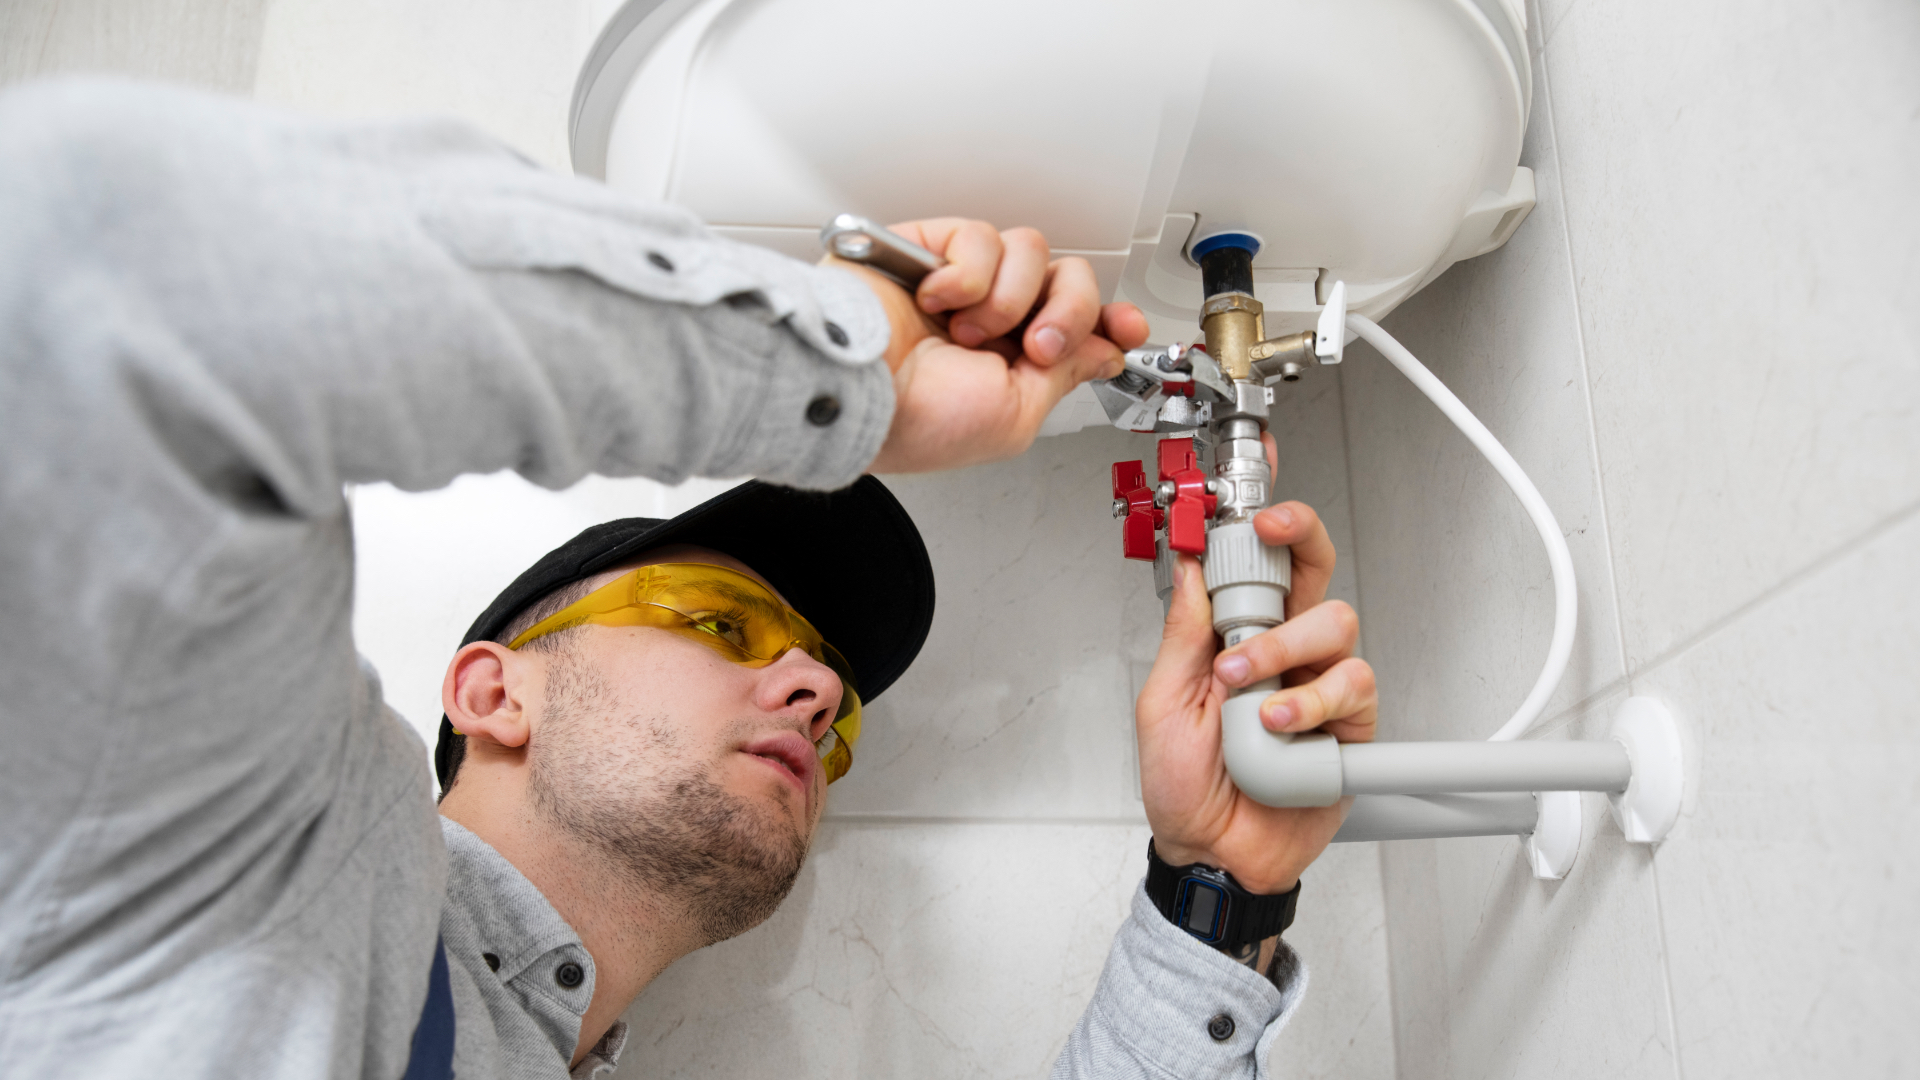
6. Check the Inlet and Outlet Valves
The inlet and outlet valves are responsible for regulating the flow of water into and out of the geyser. If these valves are not functioning properly, it can cause the geyser to malfunction.
To check the inlet and outlet valves, locate them (they are usually located near the bottom of the geyser) and visually inspect them for any signs of damage or corrosion. If the valves appear to be damaged or corroded, they may need to be replaced.
7. Check the Geyser Tank
If you have checked all of the above components and the geyser is still not functioning properly, it may be an issue with the geyser tank itself.
To check the tank, locate it (it is usually located at the bottom of the geyser) and visually inspect it for any signs of damage or corrosion. If the tank appears to be damaged or corroded, it may need to be replaced.
In conclusion, troubleshooting your geyser can help you identify and resolve any issues it may be experiencing. By checking the power supply, thermostat, heating element, pressure relief valve, anode rod, inlet and outlet valves, and the geyser tank, you can identify the problem and take the necessary steps to fix it.
Regular maintenance and troubleshooting can help to extend the life of your geyser and ensure it is functioning properly.